

If you haven’t heard of a gMSA, you haven’t lived. That’s what my Mum tells me anyway.
A gMSA is also known as a Group Managed Service Account, and it really is the future of Service Accounts. It doesn’t allow interactive logons, it recycles it’s credentials automatically and can also be tied down so it can only be used on specific hosts. Most importantly it is recommended if you use Azure AD Connect with a dedicated SQL Server.
It does require Server 2012 or above on your domain controllers (for the schema extensions) and an Azure AD Connect server, but if you aren’t using this OS or newer yet, then I think you have other priorities you need to address 🙂
So the big question is; how do we use this magical feature? The guide below is for a new installation of AADConnect.
Firstly, if you haven’t done so already you need to enable the KDS Root Key 🔐 required for generating the passwords used by the service account. Run this PS Command from an AD Powershell prompt to enable the KDS Root Key 🔐. This can be done from a Domain Controller or from a server running RSAT ADDS tools.
Add-KdsRootKey –EffectiveImmediately
Funnily enough, even though we used -EffectiveImmediately, it is only available instantly on the DC you ran the command from. The other DC’s need to wait for replication to complete for the key to be available.
You then need to create the AAD Connect gMSA service account. Use this PS command to do this:
New-ADServiceAccount -Name AADC-gMSA -Description "AAD Connect Service Account" -DNSHostName aadc.Contoso.com -PrincipalsAllowedToRetrieveManagedPassword MGMT01$,MGMT01$ -Passthru
Replace the sections in red with your own information. MGMT01 and MGMT02 are the names of our primary and staging AAD Connect servers in this instance, and the DNSHostName parameter essentially sets a DNS name of the service we are running.
Once this is done, you need to head over to your AAD Connect server and add the account using:
Install-ADServiceAccount AADC-gMSA
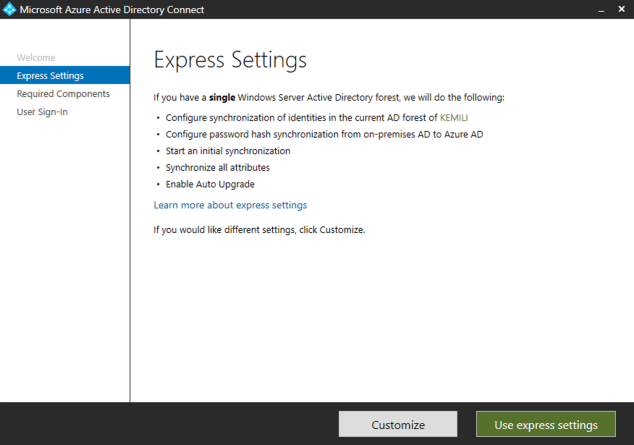
Lastly, during AADConnect installation, we need to select the service account. During initial installation, choose the ‘Customise’ option as shown below:
And then select ‘Use an existing service account’ and enter the service account name using the domain\accountname$ format.

This process will help you automate and secure your service accounts in the future, and is a great choice whenever a service account is required and gMSA is supported.
